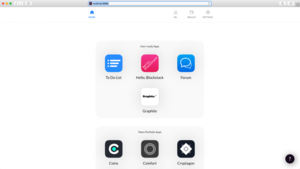
Welcome to the Stack CafeTM — We left off with a brief overview of Blockstack. Now let’s do a quick look into getting started with the browser from Blockstack (use the blockstack browser to access the blockstack platform for decentralized applications (dApp, dApps and Web 3.0) etc.).
The image above (featured image) is the home page for the blockstack browser after you have it installed, configured and running.
1. First you need to go to www.blockstack.org and install the appropriate version of the Blockstack browser (this is an install via Mac OS – Note Linux and Windows are available too):
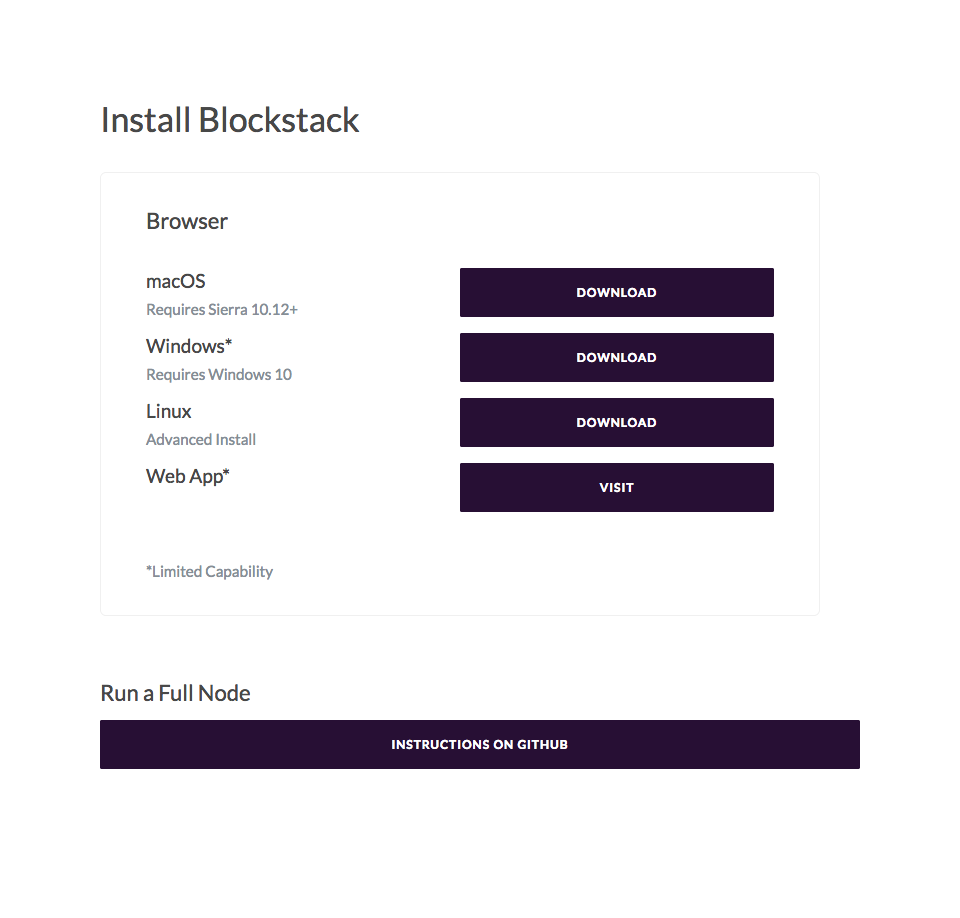
2. Choose the appropriate version and install the Blockstack Browser.
3. Download and save the file – In this example we are using – Blockstack-for-macos-v0.21.4.dmg (FYI – the latest version is 0.22.1 – See Blockstack Browser Install.

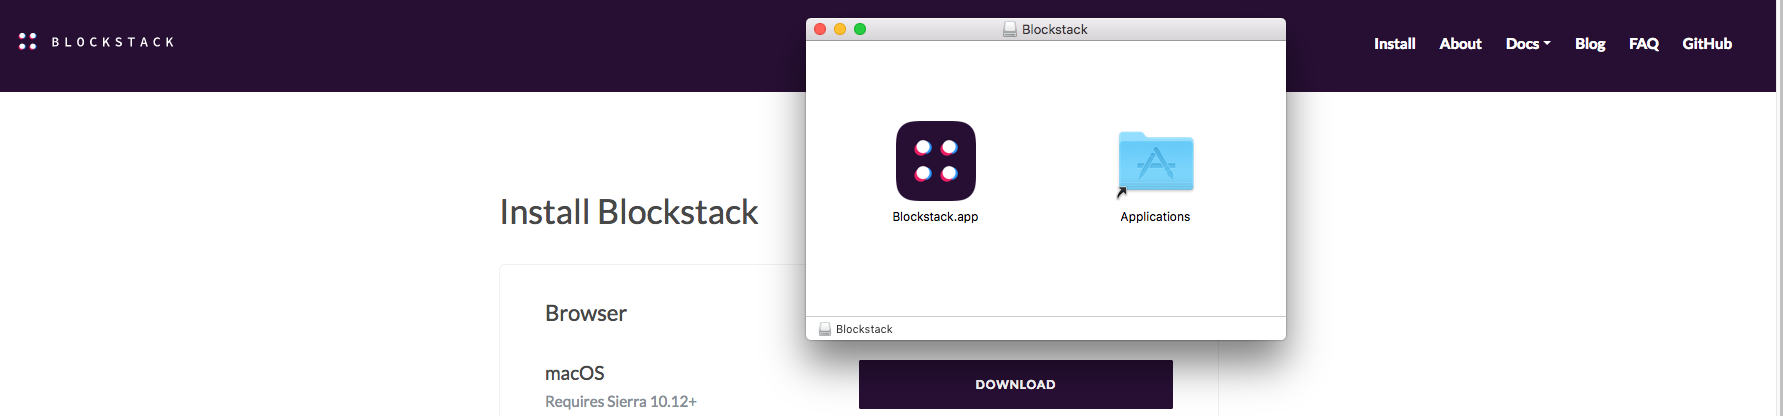
4. Then, move the Blockstack.app into the appropriate folder (e.g., Applications folder in this instance).
5. Begin the install process: e.g., select ID, create password, write down key-chain phrase (DO NOT LOSE THIS ITEM – IMPORTANT), re-enter key-chain phrase … and login) Once installed, click on the blockstack application and the Blockstack Icon will appear in the top menu bar (see right corner – ):
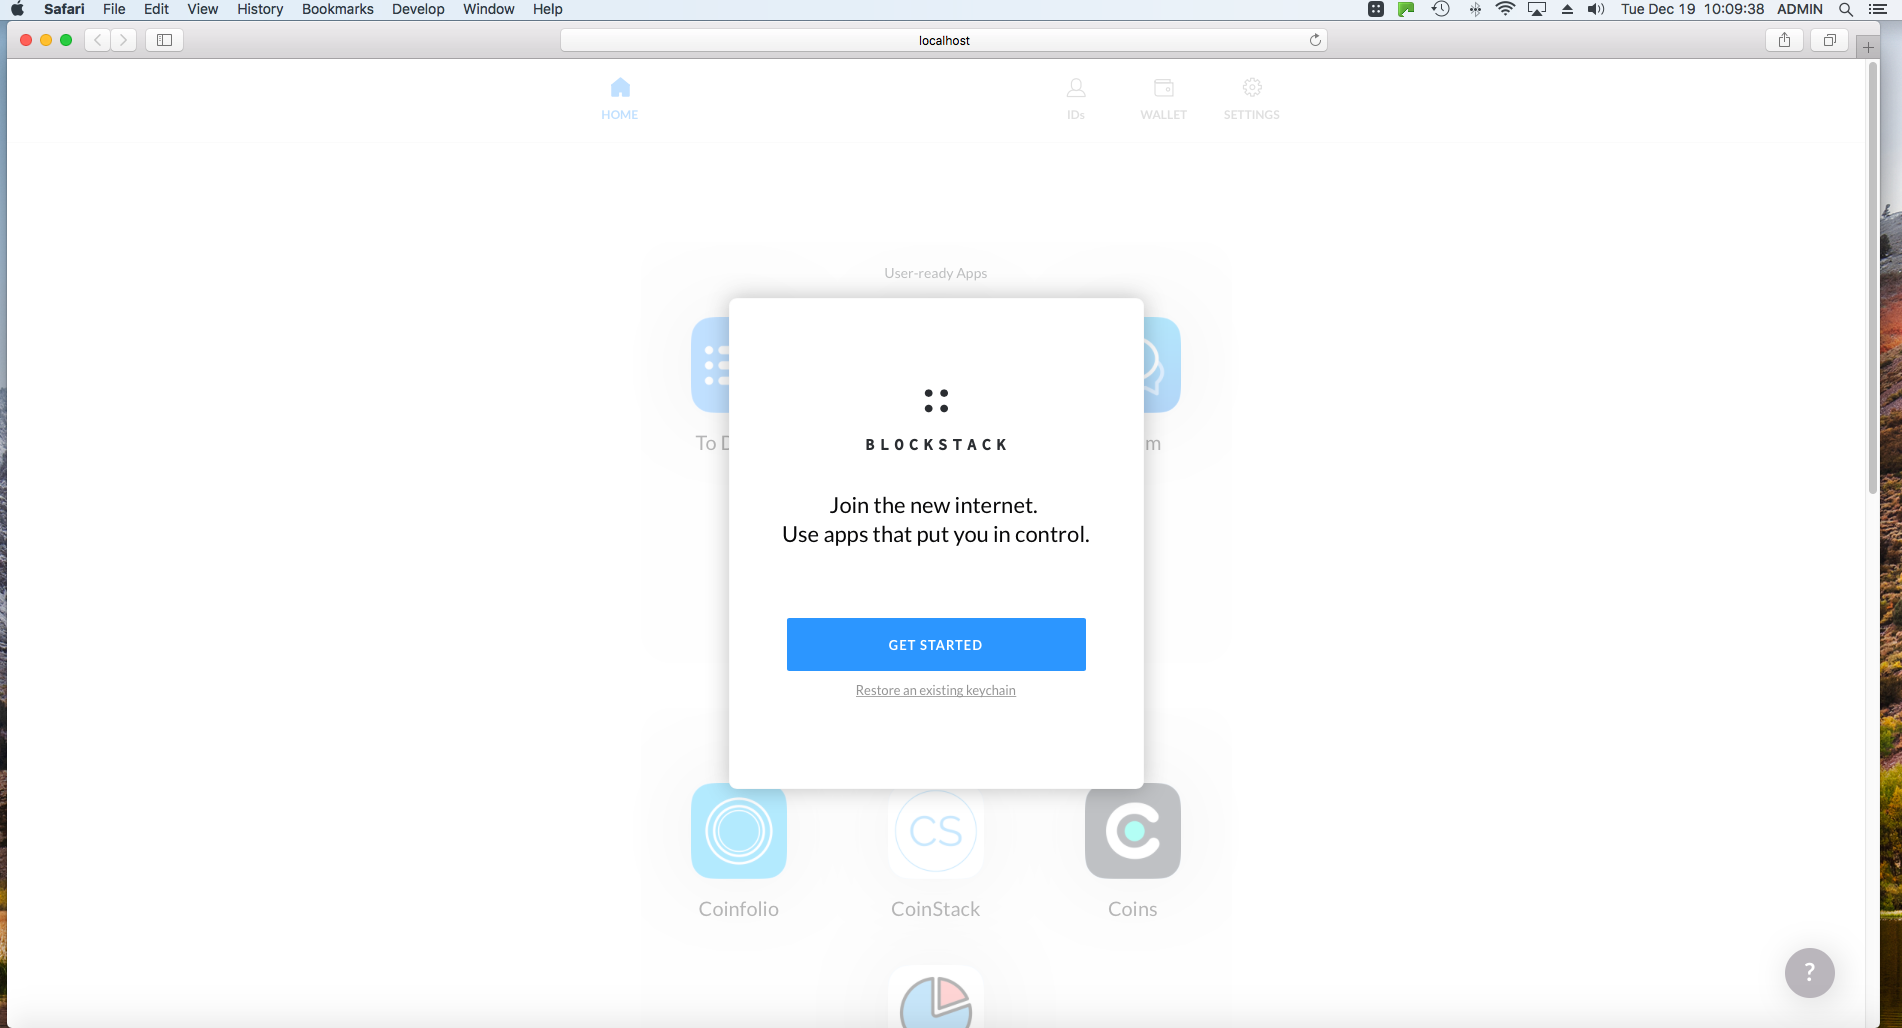
Click on the Get Started tab –
6. Enter an e-mail address:

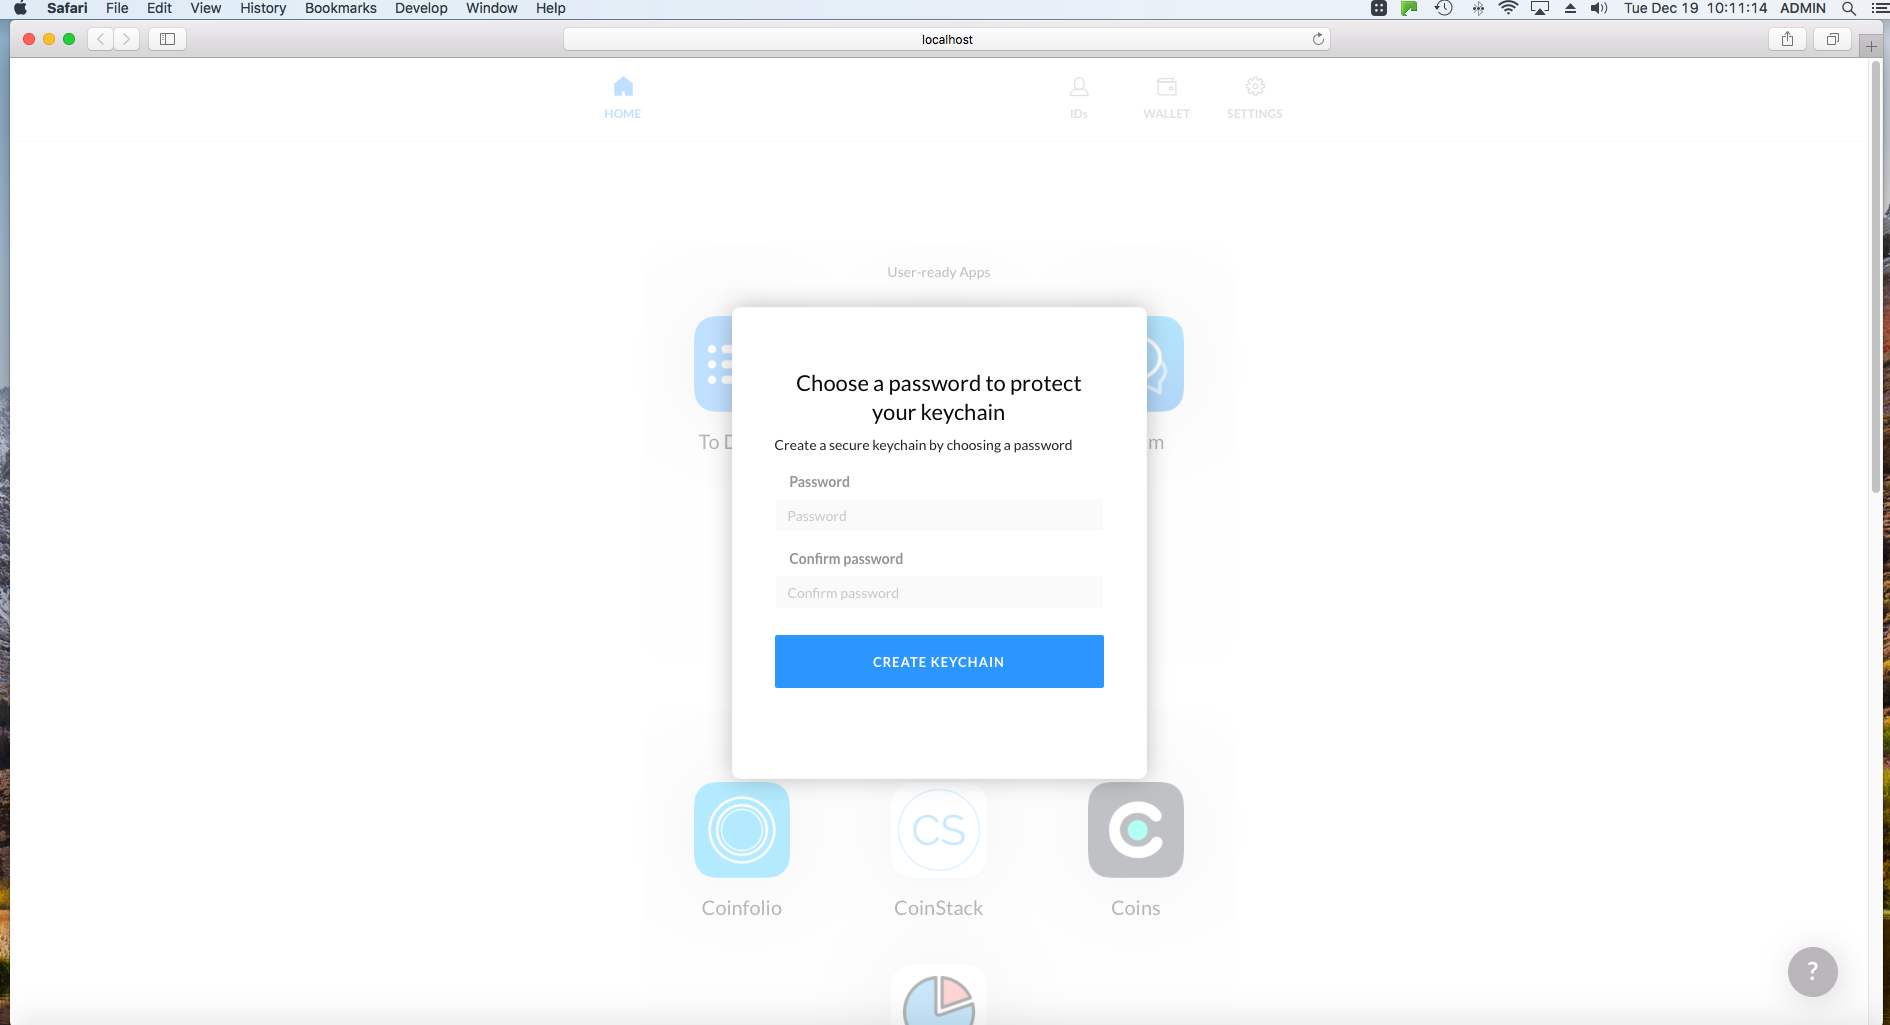
7. Choose a robust password:
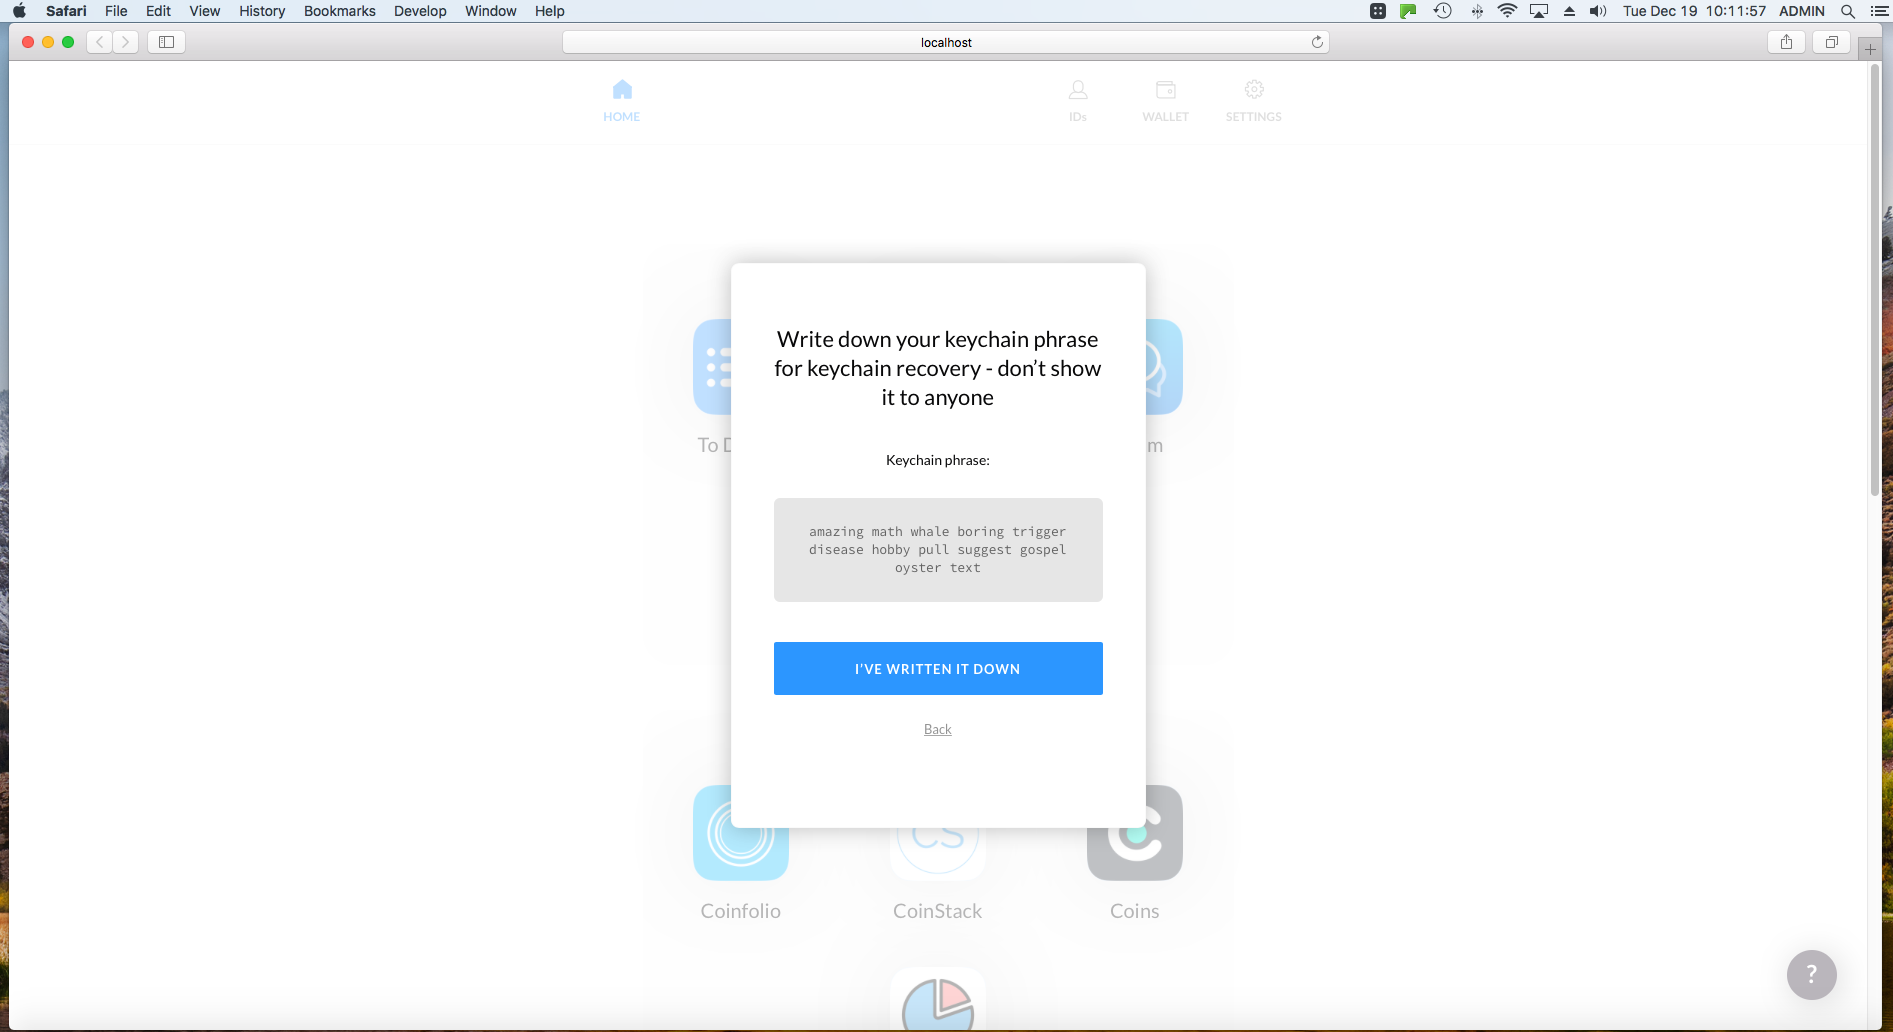
8. IMPORTANT! – Write this phrase down and DO NOT LOSE IT if you want to be able to recover your installation (identification) in the instance that you lose it –
- this is important so write it down and keep it in a secure place for your access only:
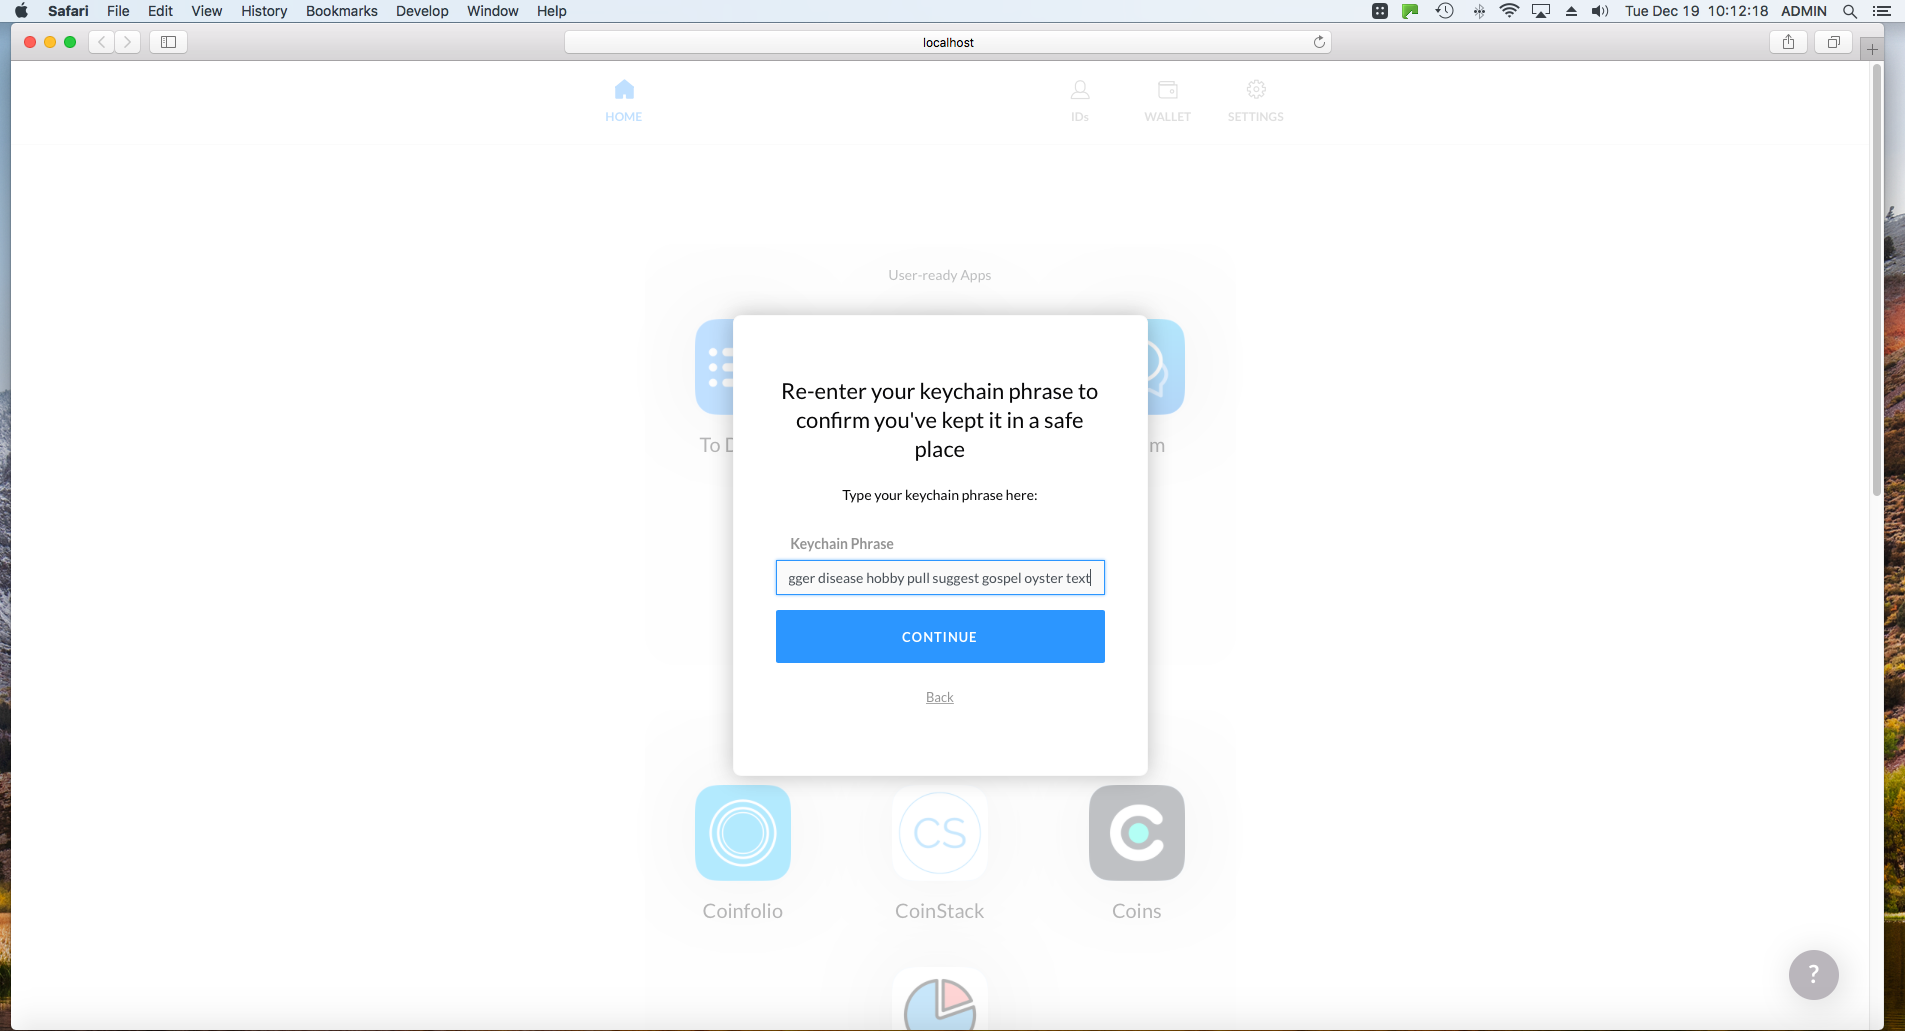
9. Re-enter the key-chain phrase –
- verification to make sure it has been written down for key-chain recovery and do no show this to anyone else to make sure it is safe and secure (so you and only you can use it to access recovery of your account etc.)
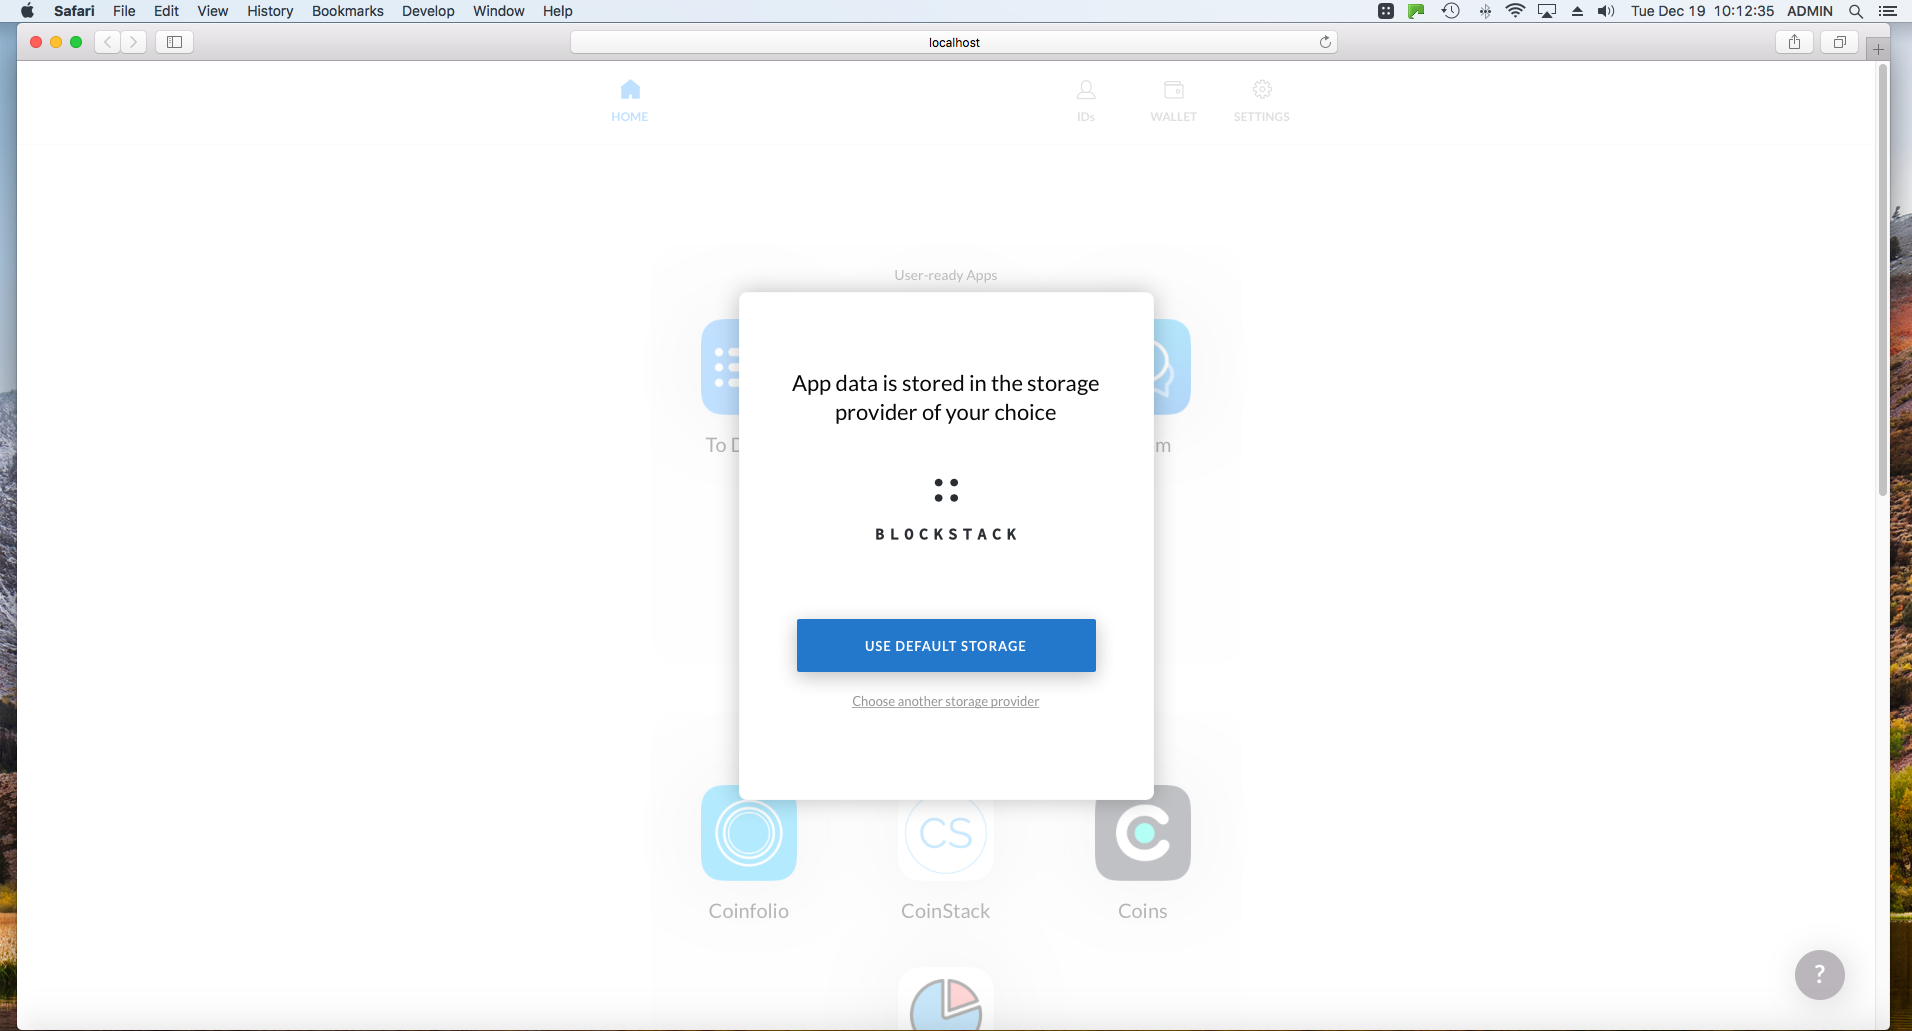
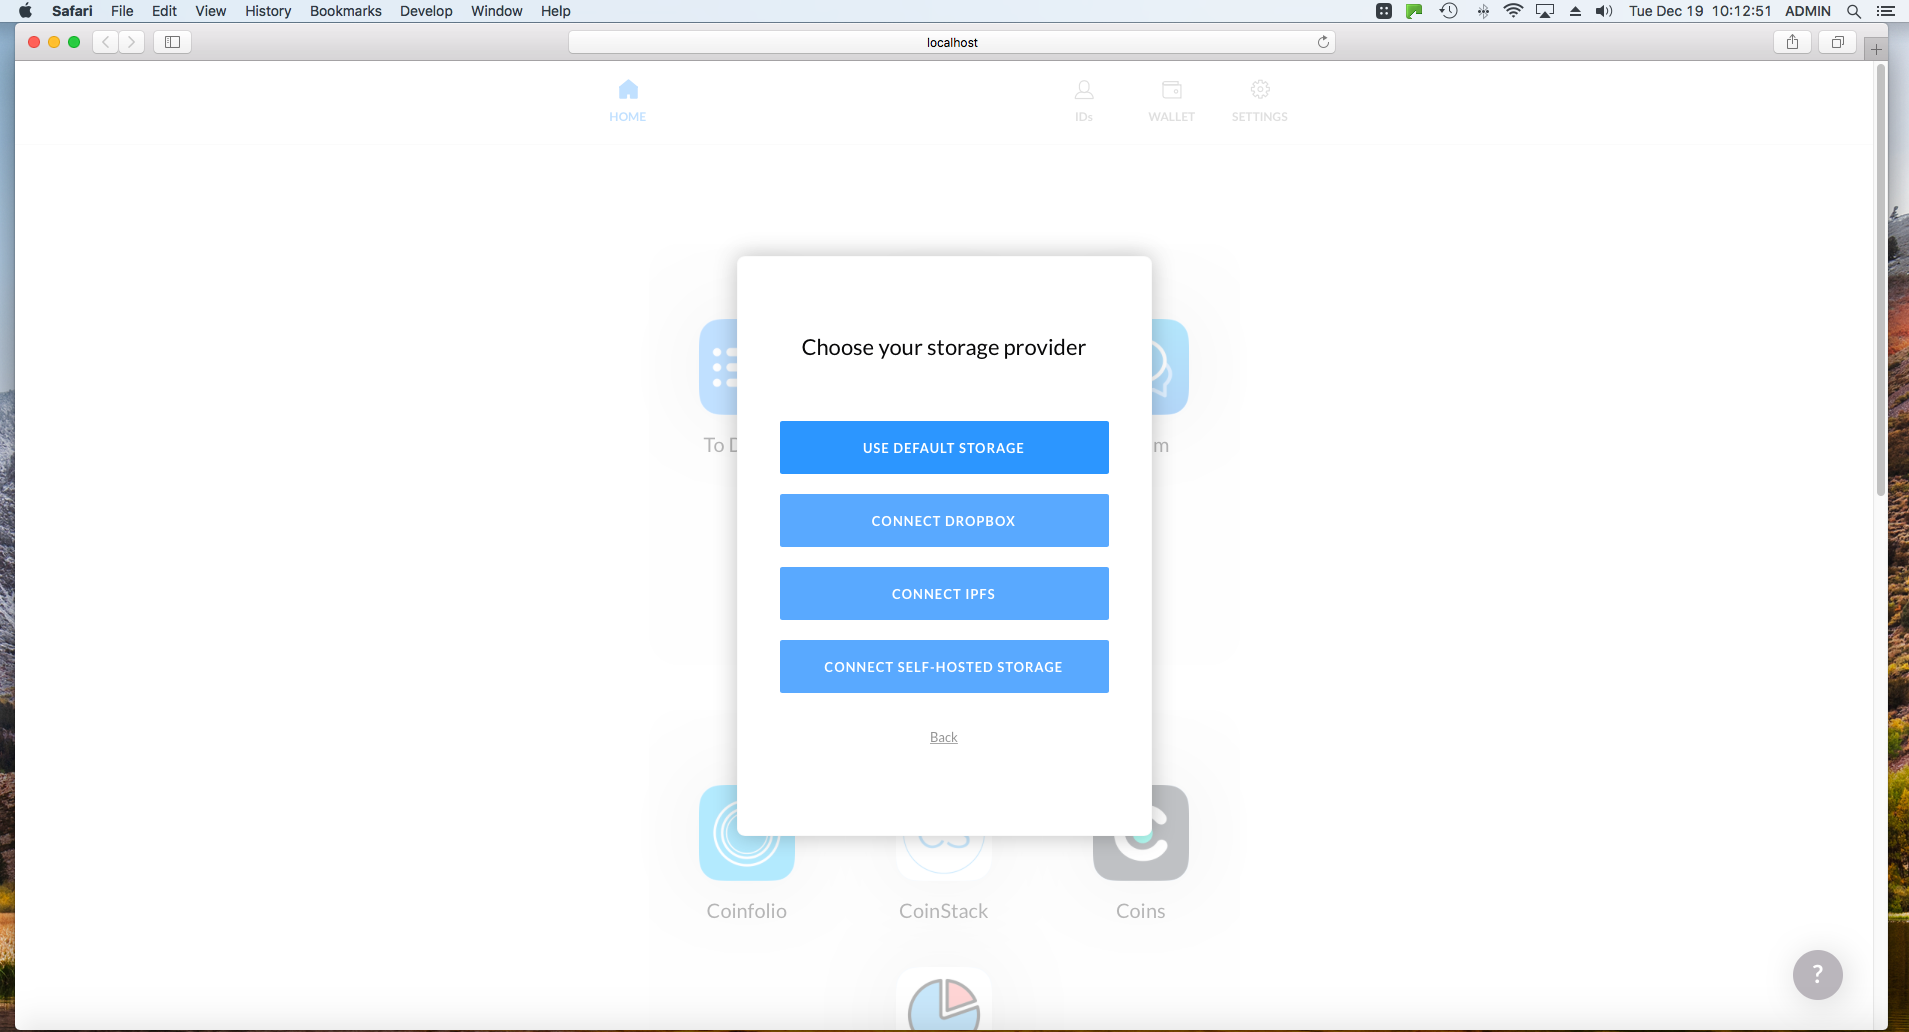
10. Choose a Storage Provider –
- either the default or another storage provider available –
- at the present time only the default storage provider is available (see next image):
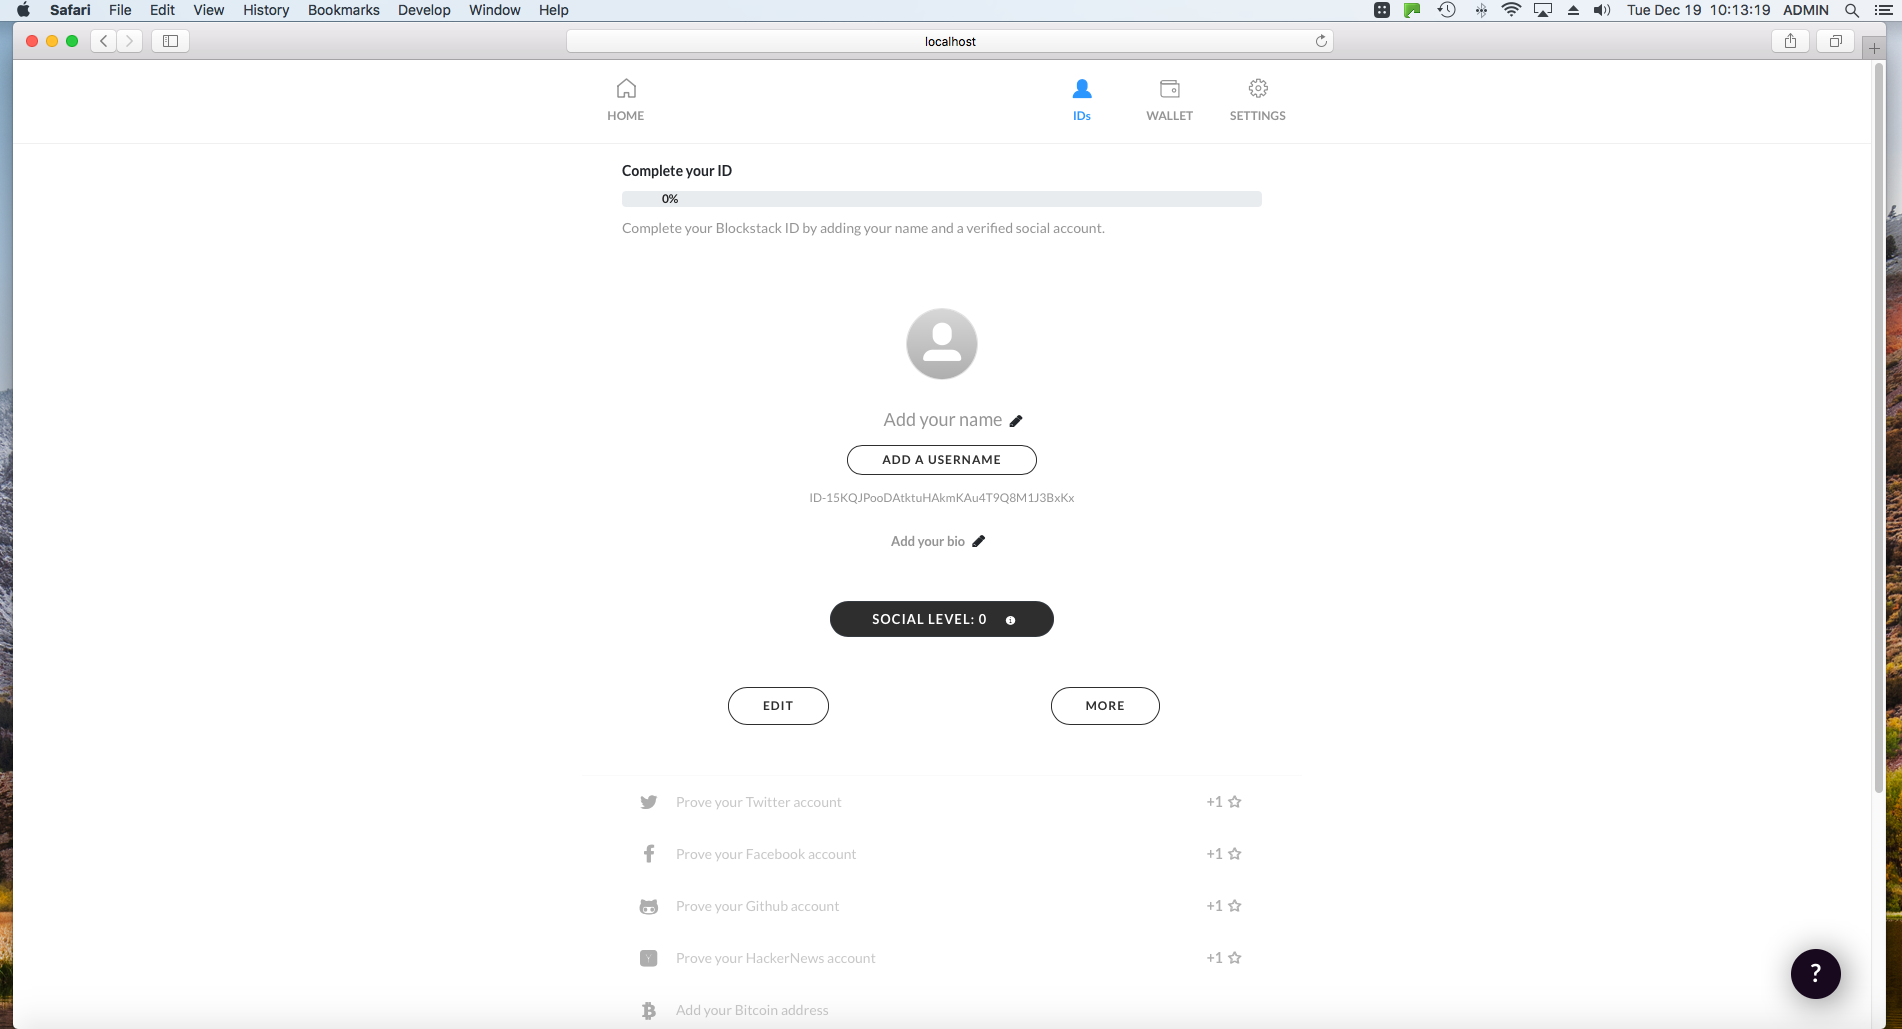
11. Voila’ – you did it and you are not up and running with the Blockstack browser and can begin using the features presently offered –
- applications etc.:
- add a username (this is where you can purchase a unique “.id” to use with Blockstack dApps)
- add social site verification
- use your wallet tied to this identification
- and other things…
12. Then, click the Blockstack Icon and a menu will drop down –
- Home
- ID
- Wallet and
- Settings.
![]()
13. Click on Home and a new tab or window will open which will resolve to the Blockstack Browser home page.
- Note that the address line – localhost:8888 | Blockstack Browser –
- which opens the browser to run on the local device – e.g., computer etc.
- On this page you find the various menu items –
- Home, IDs (view your personal identification code)
- Wallet (view your personal wallet associated with your unique ID)
- Settings (various items –
- storage provider selection
- change password
- backup keychain
- api settings).
Video walk -through: In addition, another Blockstack community member took the time to prepare a great step-by-step video – Walk-through of the Blockstack Browser, December 2017.
Resources re: Blockstack and dApps
- Blockstack
- @blockstack
Note: If you do not have the Blockstack browser, please see this link (note – to enable the full functionality of any dApp built for the Blockstack ecosystem (e.g., building a new internet, a decentralized internet, re-decentralizing the internet) you need to use the Blockstack browser).
Thanks again for visiting The Stack CafeTM and we look forward to hearing from you. Please help us put out the word on Web3.0 by posting a comment below and signing up for e-mail notifications for future updates (right side-bar). Let’s help build the new internet | The Decentralized WayTM. A decentralized internet | The Way The FutureTM.